
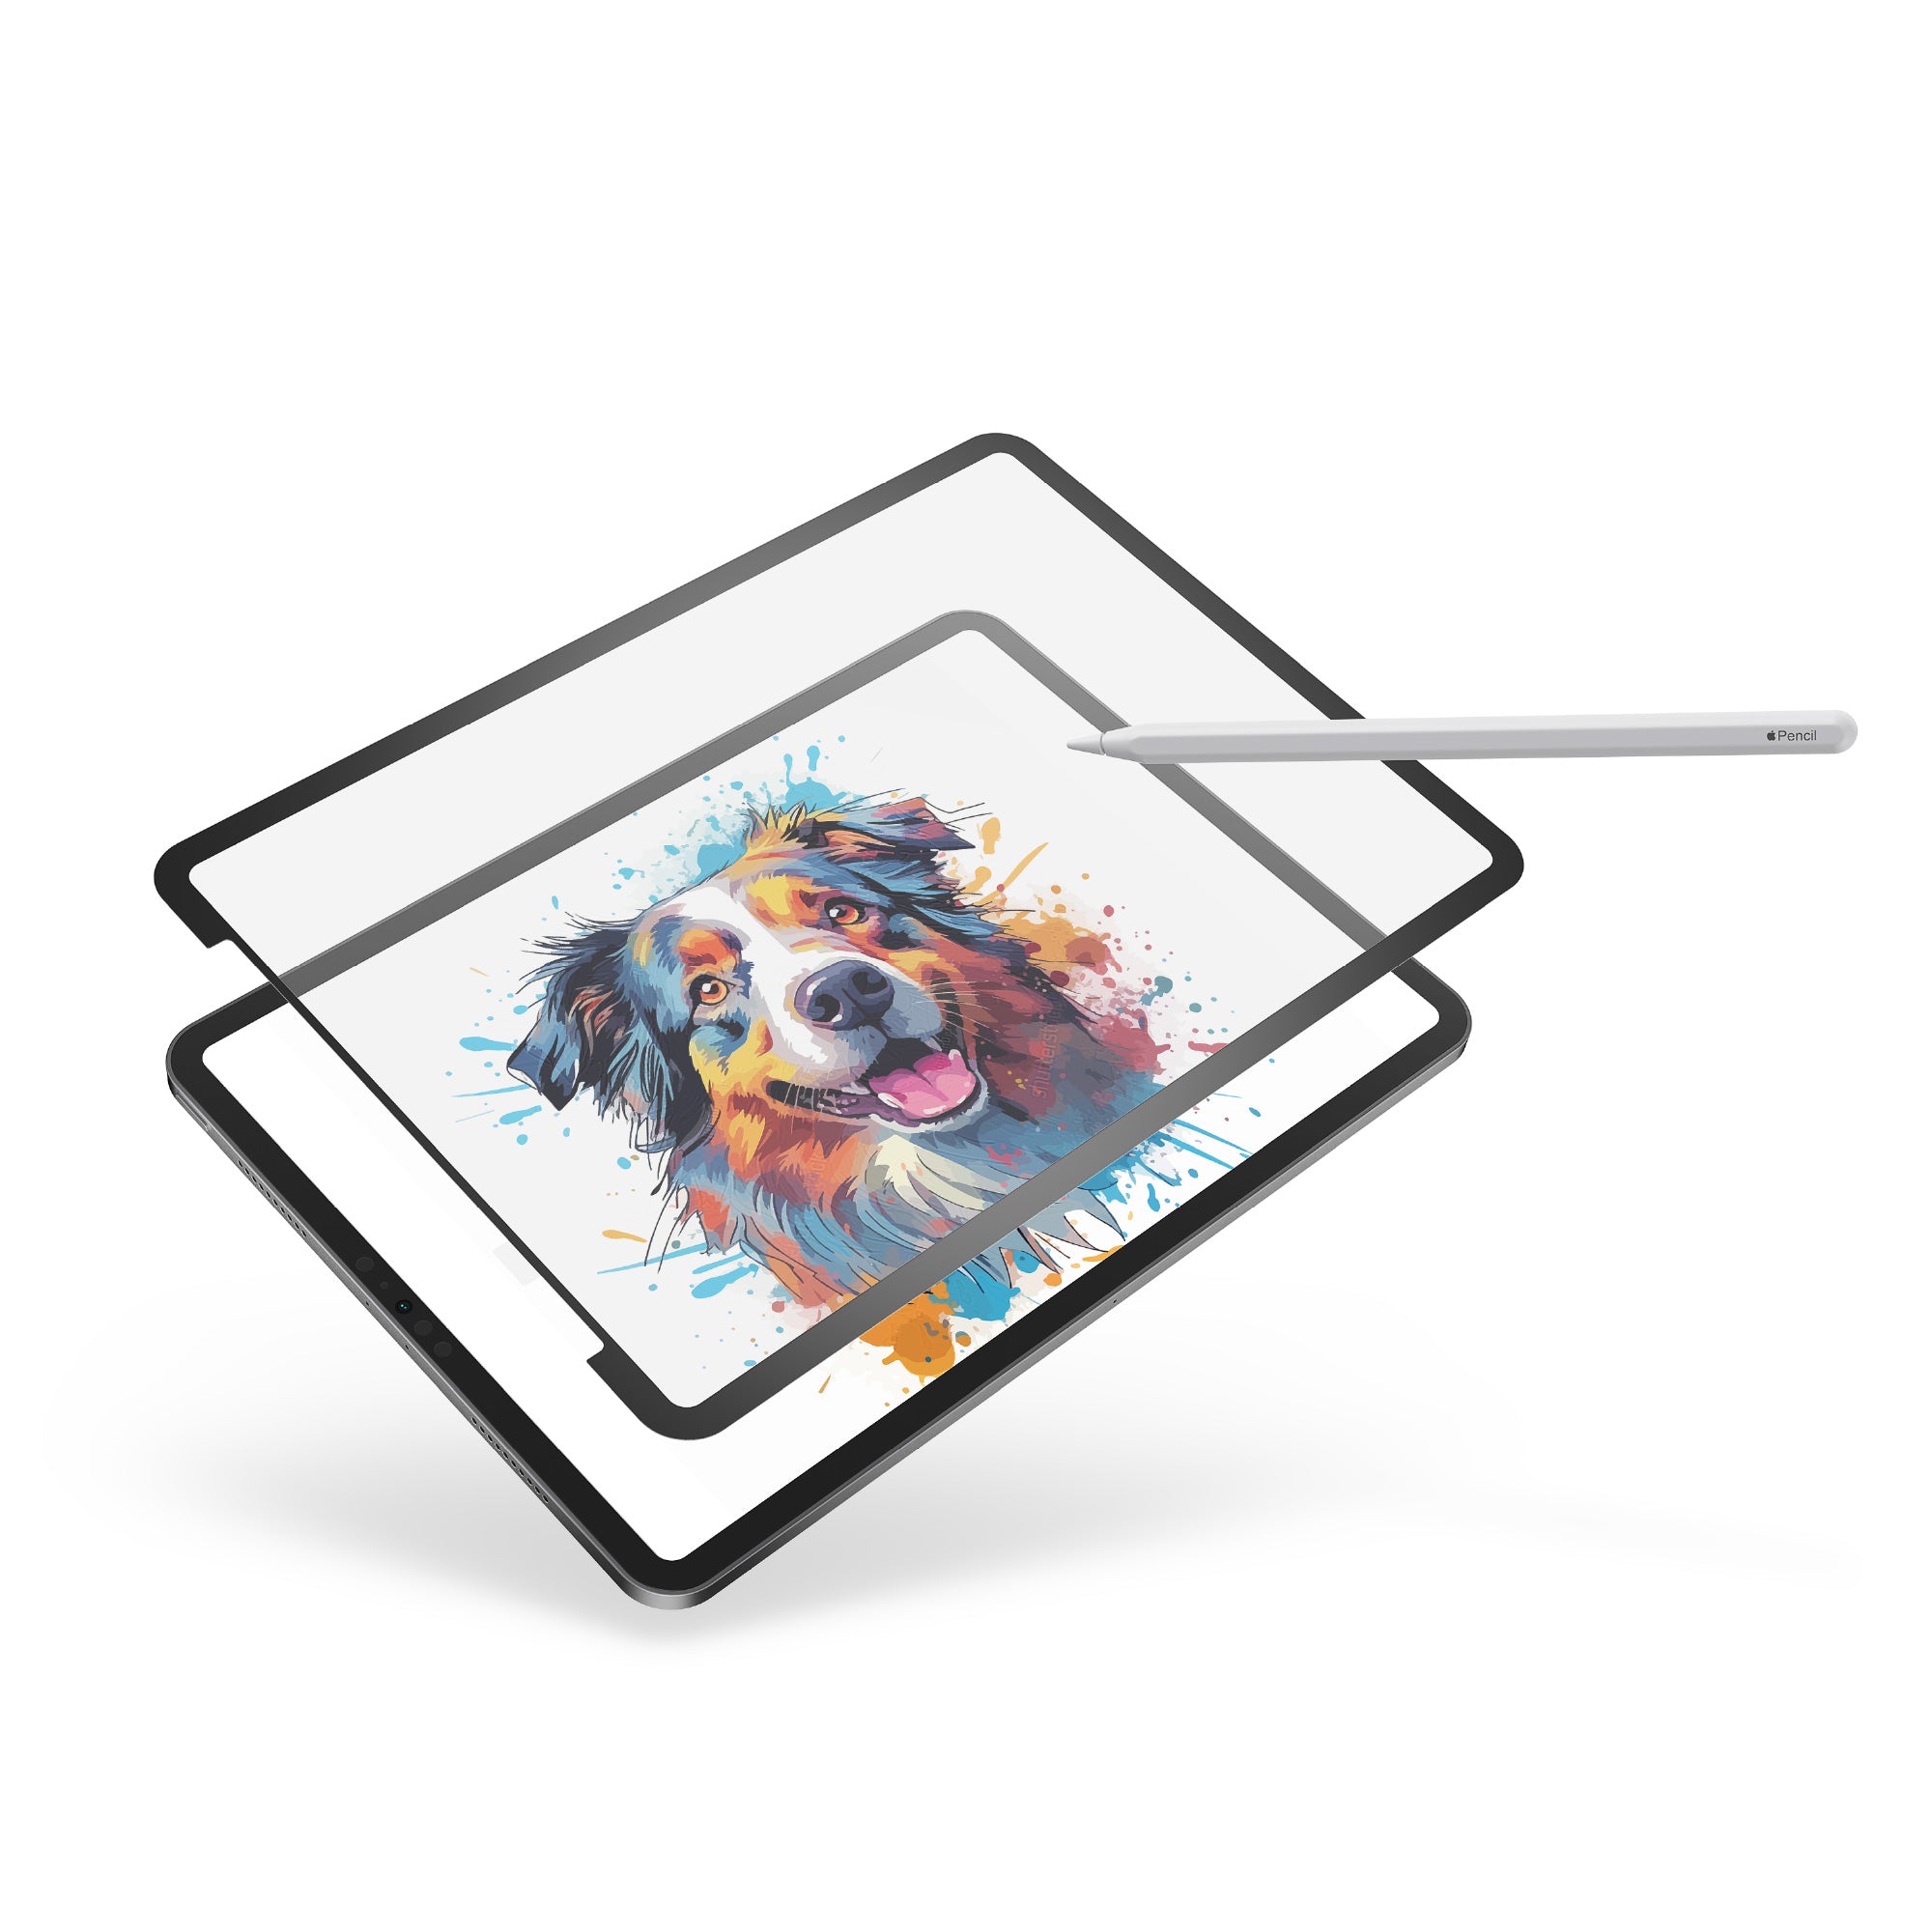


GhostPaper Sketching Surface Installation Guide
Please view this guide before installing GhostPaper, the process is straightforward and easy. We also recommend listening to your favorite playlist while installing, something to lighten up the mood.
Note:
Install GhostPaper in a clean, low dust environment to minimize the chance of trapping unwanted dust particles onto the film or screen.Step 1: Verify size and fitting
Without peeling any of the two plastic liners, align GhostPaper over your iPad. Leave the “1” tab facing down, touching your iPad screen. Verify it’s the right size for your iPad.
While holding the screen protector perfectly aligned, stick two pieces of positioning tapes on GhostPaper. After you’ve checked the film and tapes are aligned, lift your iPad and fold the tape around it.
Tip:
Try to place the positioning tapes parallel to each other and at equal depths to ensure the film flips over straight.Step 2: Prep the screen
Use the “1” alcohol wipe to thoroughly clean your iPad screen. Then use the “2” dry cloth to dry and remove any streaks. If necessary, use the removal sticker to remove lint or dust.
Step 3: Apply GhostPaper
Peel off the “1” liner completely, then switch hands by holding the film upright and grabbing the “2” tab. Afterward, slowly lay and press GhostPaper onto the screen from one edge to the other.
You can use your hand or the installation card to help you press down from one side to another.
Warning
DO NOT prematurely let the opposite edge of the film down. This will cause more bubbles to form.Step 4: Final Touches
With the “2” liner still on, use the installation card to push any bubbles out towards the edges. Finally, remove the “2” tab completely.
Note:
If you encounter any problem during installation, please contact us at: cs@gouppercase.com or use the "Contact us" link above.